In 2025, over 60% of internet users in the US, UK, and other tier-1 countries use temporary emails to protect their privacy. Whether you're signing up for a new app, accessing gated content, or just want to avoid spam, learning how to create a temporary email in 10 Minute Mail is an essential digital skill.
This comprehensive guide will walk you through the entire process, explain why temporary emails are more important than ever, and show you how to use them effectively.
Why Use a 10 Minute Mail Temporary Email?
Before we dive into the step-by-step process, let's look at why millions now prefer temporary emails:
- Spam protection: Keep your primary inbox clean from marketing emails
- Privacy preservation: Prevent companies from tracking your online activity
- Security enhancement: Reduce exposure to data breaches
- Convenience: No need to create and manage multiple accounts
- Time-saving: Bypass lengthy signup processes
Did You Know?
According to Statista, spam accounts for 48% of all email traffic in 2025. Temporary emails help filter this noise.
Step-by-Step: How to Create a Temporary Email in 10 Minute Mail
Step 1: Visit a Reliable 10 Minute Mail Service
For this guide, we'll use TempInboxMail.com, one of the most trusted temporary email providers:
Why Choose TempInboxMail?
- No registration required
- Emails last for 10 minutes (extendable)
- Military-grade encryption
- Works worldwide (optimized for tier-1 countries)
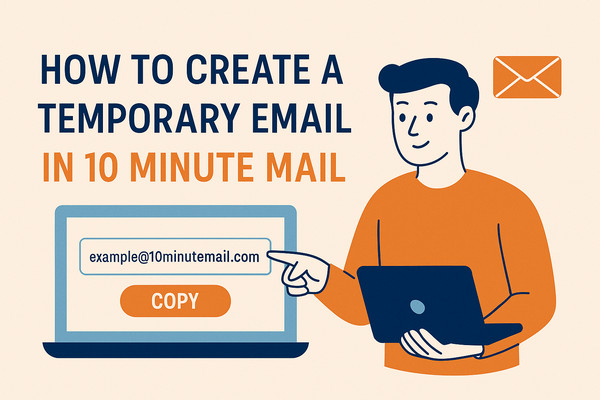
Step 2: Generate Your Temporary Email Address
When you visit the site, you'll immediately see your new temporary email address. It will look something like:
random123@tempinboxmail.com
This address is ready to use immediately - no setup required.
Step 3: Use Your Temporary Email
Copy this email address and use it wherever you need to sign up:
- Website registrations
- App downloads
- Newsletter signups
- Free trial access
Step 4: Check Your Temporary Inbox
Return to TempInboxMail to see any emails sent to your temporary address. The interface automatically refreshes to show new messages.
Step 5: Extend or Discard (Optional)
By default, your email expires after 10 minutes. If you need more time:
- Click "Extend Time" to add another 10 minutes
- Or let it expire automatically for maximum privacy
Temporary Email vs Regular Email: Key Differences
| Feature | Temporary Email | Regular Email |
|---|---|---|
| Lifespan | 10 minutes (extendable) | Permanent |
| Privacy | High (no personal data) | Low (linked to identity) |
| Spam Risk | None (disposable) | High |
| Use Cases | One-time signups | Personal/professional use |
Advanced Tips for Using 10 Minute Mail
To get the most from temporary emails:
1. Combine with Password Managers
Use a password manager like Bitwarden to store temporary email/password combinations when needed.
2. Browser Extensions
Install the TempInboxMail browser extension for one-click temporary email generation.
3. Multiple Emails for Different Purposes
Create separate temporary emails for:
- Social media signups
- E-commerce purchases
- Software downloads
Frequently Asked Questions
Is 10 Minute Mail legal?
Yes, temporary email services are completely legal in the US, UK, EU, and most countries. They're privacy tools, not hacking instruments.
Can websites block temporary emails?
Some try, but quality services like TempInboxMail constantly update their domains to bypass blocks.
Are temporary emails secure?
Reputable providers use encryption. However, avoid sending highly sensitive data through any temporary service.
Pro Tip
For maximum privacy, combine temporary emails with VPN services like ProtonVPN.
Final Thoughts
Learning how to create a temporary email in 10 Minute Mail is one of the simplest ways to protect your digital privacy in 2025. Whether you're in New York, London, or Sydney, these disposable emails help you:
- Maintain online anonymity
- Reduce spam and tracking
- Secure your primary email account
Ready to try it yourself? Create your first temporary email now - it takes less than 10 seconds!